유니티/유니티 튜토리얼
[유니티 튜토리얼 1.1] 1. 유니티 새 파일 만들기 | 2. asset 불러오기
da_log
2022. 11. 28. 16:04
1. Make a course folder and new project
- On your desktop (or somewhere else you will remember), Right-click > create New Folder, then name it “Create with Code”
- Create a new Unity project using the 3D template - remember to use one of the supported versions of Unity (2018.4LTS, 2019.4LTS, or 2020.3LTS).
- Name the project “Prototype 1” and set the file location to the new “Create with Code” folder.
- Select Create, then wait for Unity to open your new project.
새 파일 만들기
튜토리얼 1에서 만드는 게임은 자동차가 장애물을 피하며 앞으로 가는 게임이다.
먼저 원하는 위치에 "Create with Code"라는 새 파일을 만들고
파일 안에 3D 프로젝트를 만들어서 프로젝트 이름을 "Prototype 1"이라고 지어준다.
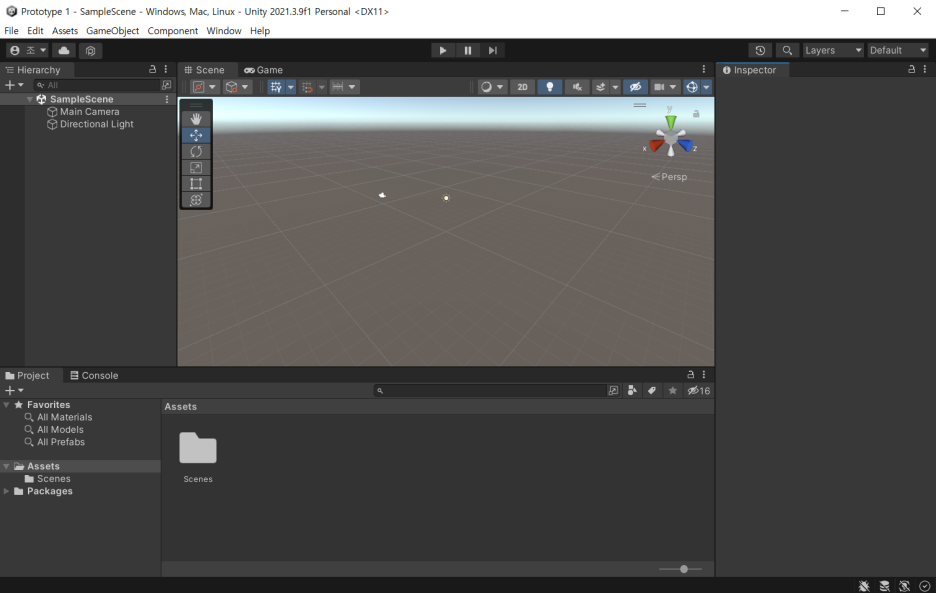
Prototype 1 프로젝트를 실행해보면
유니티의 기본 화면이 나온다.
asset 불러오고 파일 열기
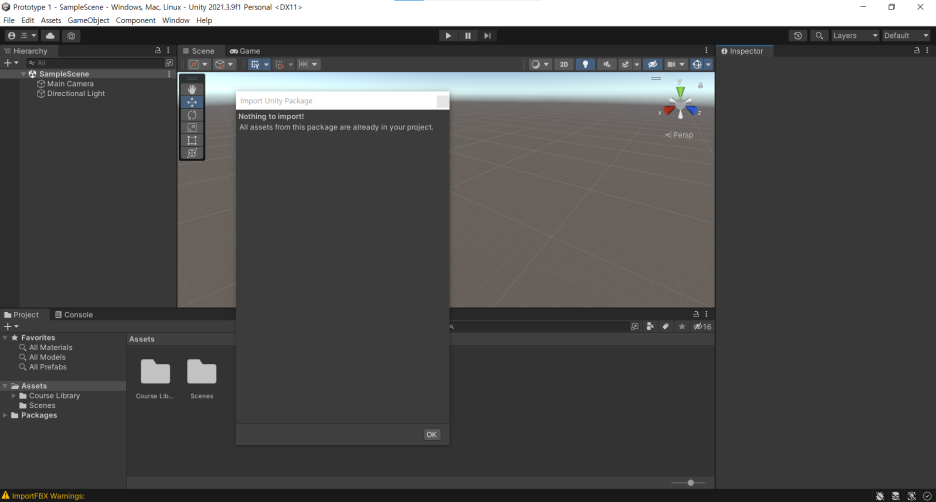
다음으로 강의에서 제공하는 에셋들을 불러오는데
강의 사이트에서 에셋이 들어있는 파일을 다운로드할 수 있다.
파일을 다운 받은 후, 압축을 풀어준다.
Assets - Import Package - Custom Package에서
압축을 풀었던 파일을 열어주면
다운로드한 에셋을 유니티에 불러올 수 있다.
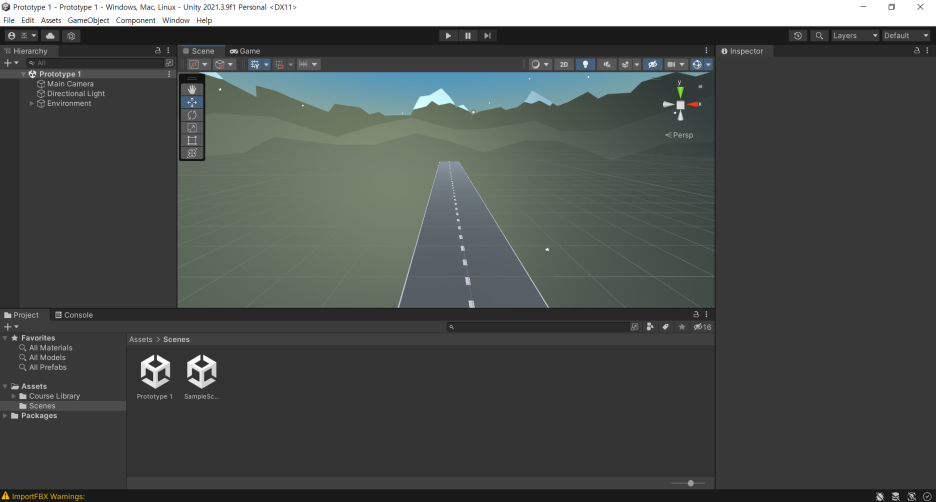
다운받은 에셋을 불러온 화면